

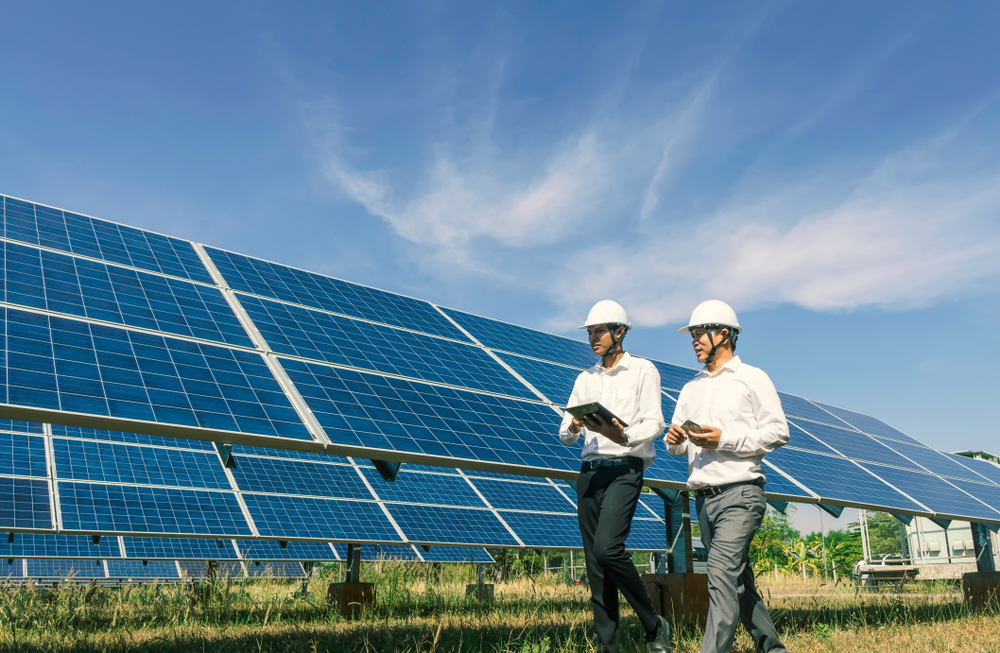
The performance of any solar power plant depends on which mounts for solar panels will be selected as supporting elements. The correctness of their installation also plays an important role. Any errors are fraught with a significant loss of efficiency, and in the worst cases, loss of stability and destruction of the entire structure. Self-assembly of small systems is quite possible, but it is preferable to entrust the construction and commissioning of high-power stations to professionals.
SES installation options
There are four different options for mounting photovoltaic structures. Each requires the selection of the amount for a specific type of Solar Panel in Pakistan.
- Integrated. Used in smart energy-efficient buildings. The panels become an integral part of the “solar roof” or are integrated into the windows.
- Freestanding. The most commonly used option for ground deployment. Special support structures of the following type are used.
- Horizontal. It is most commonly found on flat roofs of large buildings, including apartment buildings. Technologically the simplest type of installation.
- Inclined. It is mainly used on the ground and in some cases on pitched roofs. In addition to standard fasteners, it allows the inclusion of trackers with one or two axes in the circuit.
The choice will depend on the installation method, slope angles, azimuth in the sun, climatic conditions of the region, and a number of other factors.
Fasteners for solar panels
The best way is to purchase ready-made sets of elements. For example, for roof installation, they may contain: Sunlife
- steel or aluminum profiles ;
- end, centre and grounding clamps;
- grounding clips;
- connectors ;
- bolts with internal hex heads;
- bolts and nuts of the required configuration for various roofing materials – online, galvanized, slate profile decking, etc.;
- guide nuts;
- clamps for securing wires.
The number of solar panel mounting kits depends on the number of modules. Mounting brackets must be purchased separately. When installed on the ground, special supports are added to the set, and inexpensive systems, swivel elements for following the sun are added.
The choice of profile for mounting solar panels is completely individual and is carried out taking into account the following main factors.
Used element material
Such options for the choice of material are possible.
- Wooden slats. They are used only in home-made structures in order to minimize costs. Unreliable, short-lived and moisture-unstable material. The lower horizontal beam for ground installation is located at a height sufficient to protect against winter snowdrifts. The tilt angle of the frame is usually stationary and is around 30 ° corrected for latitude.
- Wood with aluminium fittings. Allows placing two rows of modules in height. A larger number threatens to break down the structure due to the gradual violation of the integrity of the wood structure under the influence of precipitation.
- Frame made of pipes. The last inexpensive frame option. It is characterized by high strength and, when placed on the ground, can be mounted on concrete supports.
- Galvanized steel and/or anodized aluminium. Factory profiles for mounting solar panels of this type are used in all professional designs, regardless of the installation location.
Important! The choice in favour of factory-made fasteners is definitely optimal, and experts strongly do not recommend saving on these elements.
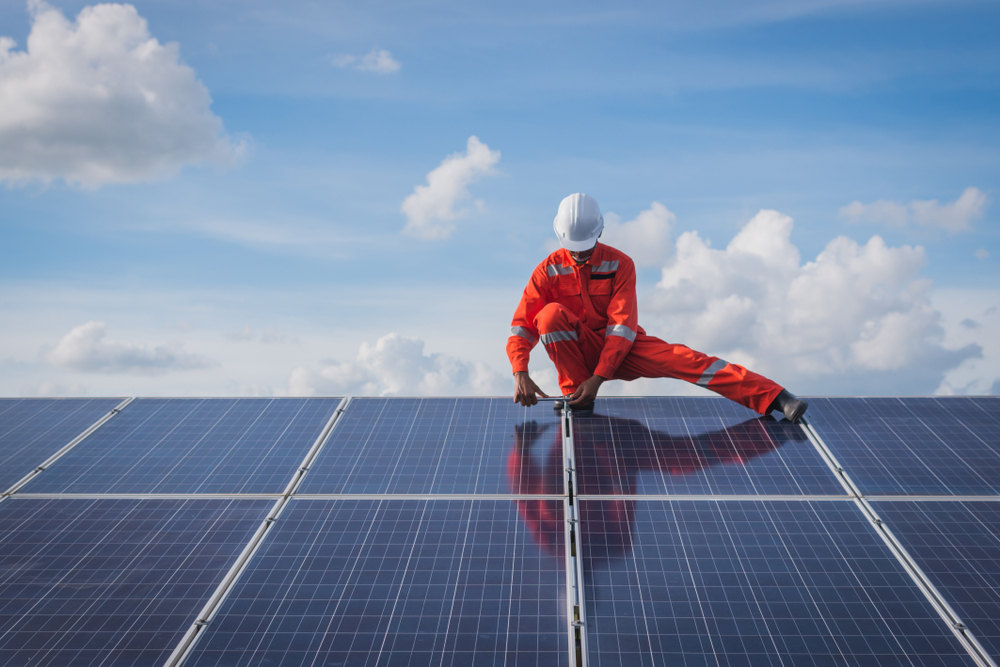
How to mount solar panels on the roof. Self-assembly instructions
When the installation work is carried out by a team of professionals, specialists take over the selection of all the necessary components. If you want to save money and carry out the installation yourself, you will have to deal with the purchase of fasteners and tools. In this case, a mandatory requirement is to take into account the material with which the roof is covered. Best Solar Panel Company in Pakistan
Roof material
The dependence of the choice of a set of mounts for solar panels on the roofing is as follows.
- Metal profile and metal tiles – you need steel L-shaped corners, bitumen tape for laying and self-tapping screws.
- Bituminous tiles – profiles with a wide base are used. 3. Ceramics – zigzag profile elements for screwing to the battens.
- Online and slate – screws with rubber gaskets are screwed into the logs on the ridges, and the fastening of the support rails, in addition to the bolts, is carried out with special grips in the rack grooves.
- PVC and EPDM – fasteners are purchased as for shingles, but will not require drilling auxiliary holes.
Important! After installing all panels, end clamps and bolts M8 * 25 are used for the edge elements in the rows, and for the rest of the modules, longer M8 * 50.
Here is a short step-by-step algorithm on how to mount solar panels on the roof.
- We clean and degrease the roof.
- We make markings for the brackets. Racks should be arranged in parallel rows, with a distance of 0.9 – 1.4 meters, depending on the size of the modules.
- We fix the slats made of galvanized profiles or anodized aluminum (depending on the type of roof, different brackets, and methods of fixing them are used). We connect them together with bolts and M8 nuts. We check the correctness of the connection of the elements.
- We lay cables under the finished structure. For reliability, we attach them to the inner part of the profile with plastic clamps.
- We mount the clamps for the modules.
- We lay the panels one by one and fix them with the installed clamps.
How to mount solar panels on the ground
Metal structures for installing solar panels on the ground are significantly different from elements for roofing. The installation rules themselves are also different.
Here are some important criteria to consider.
- Orientation and tilt angle. Unlike a fixed roof, solar panels can be pointed anywhere when installed on the ground. The ideal direction is south, and the tilt angle is the latitude of the area.
- Possible shading. Ground-based photovoltaics is located much lower than on roofs, and the likelihood of a shadow falling on it from nearby trees, houses or other structures is quite high. This should not be allowed, and therefore the panels should be positioned so as to prevent shading – including from neighbouring solar modules.
- Correct installation. The factory fasteners and profile for fixing solar panels to the ground are designed in such a way as to make them possible to mount them both on a concrete base and directly on the ground. For excessively unstable and loose soils, the second option is excluded. After marking the territory, the assembly of the composite trusses is quite simple, according to the LEGO principle. All that is needed is accuracy and the availability of the required number of 6-8 mm fixing bolts and the corresponding keys.
This concludes the list of design and “mechanical” points on how to mount solar panels. It remains to carry out electrical work – to connect the panels into a single battery and connect to the network along with peripheral devices.
Some additional tips
Here are a number of universal recommendations for everyone who decided to carry out the installation with a battery on their own:
- install only in dry and sunny weather;
- when buying fasteners for solar panels, inform the sales consultant about all the important parameters of the future system – the place of installation, the type of roof of the house (or soil on the site), the number and weight of modules, the proposed scheme of their installation, etc.;
- choose the slope of the panels in accordance with the geographical latitude and whether the angle will change depending on the season;
- be sure to check whether the shadows from neighbouring modules or nearby tall buildings, structures, or trees will fall on the cells;
- Consider the strength of the frame and the potential stability of the supports depending on the region’s wind rose.


